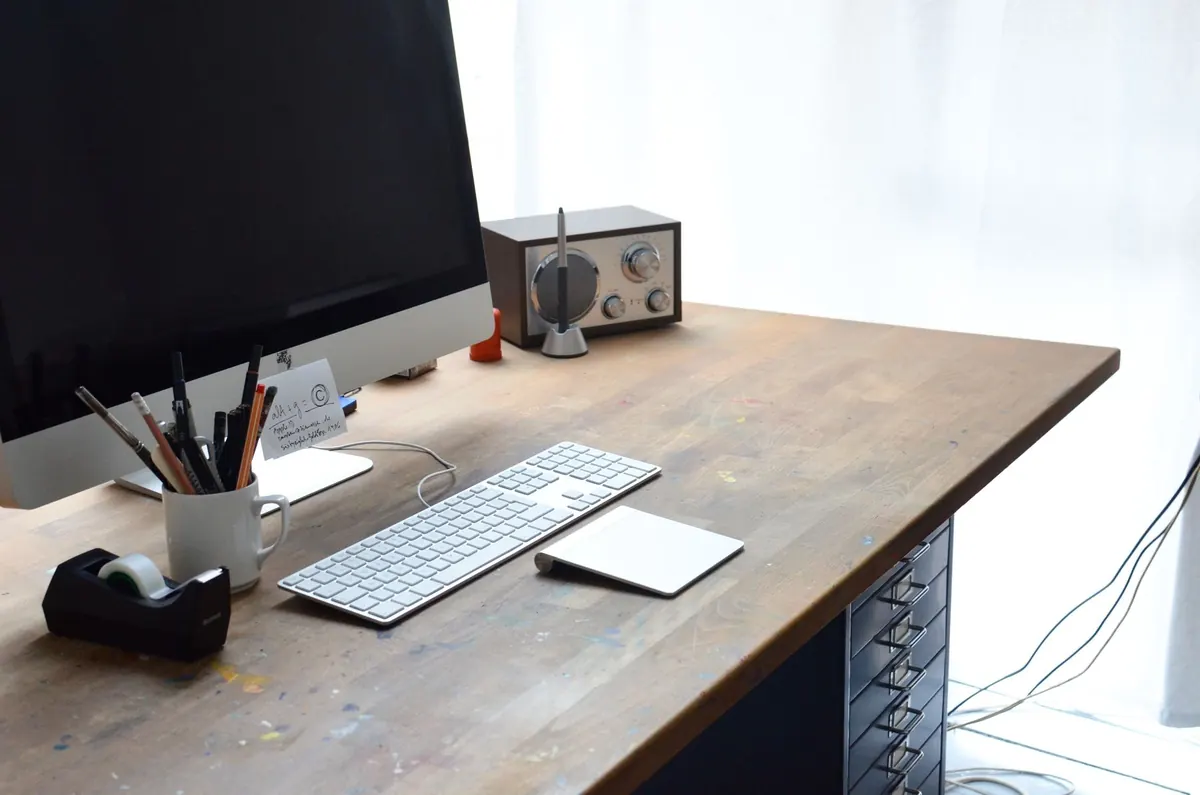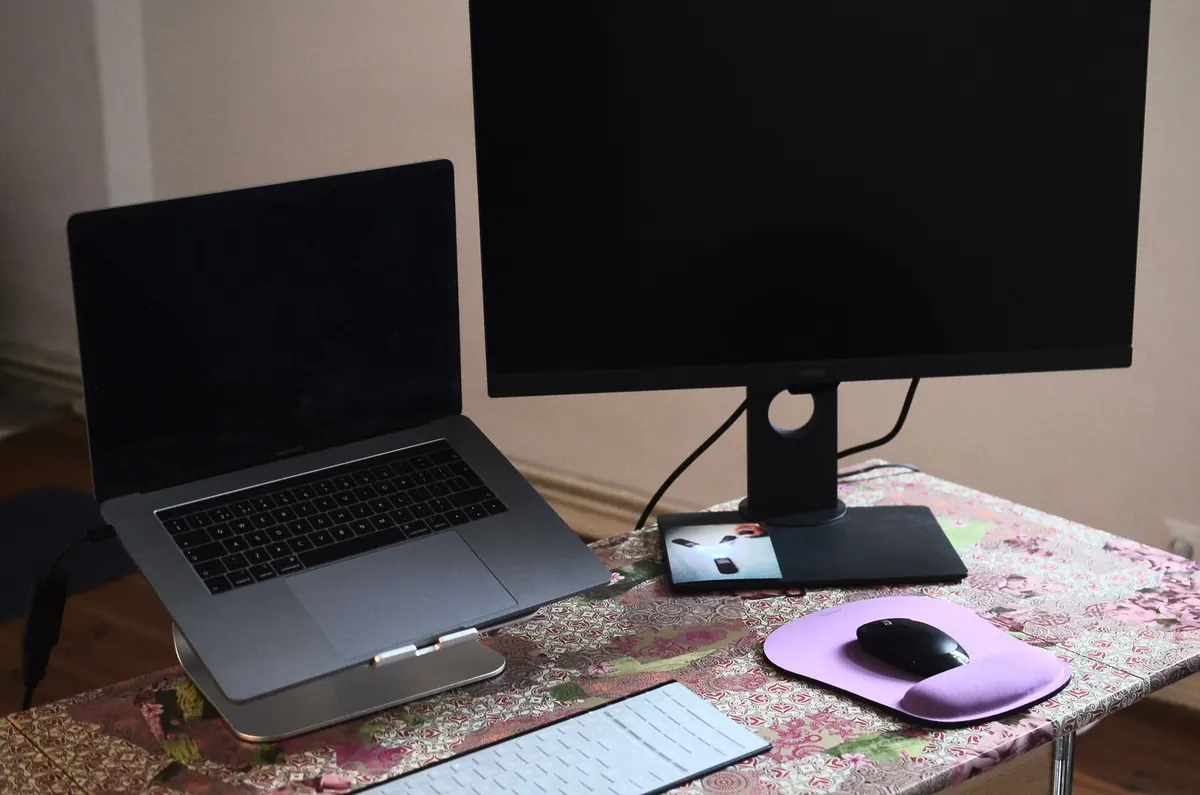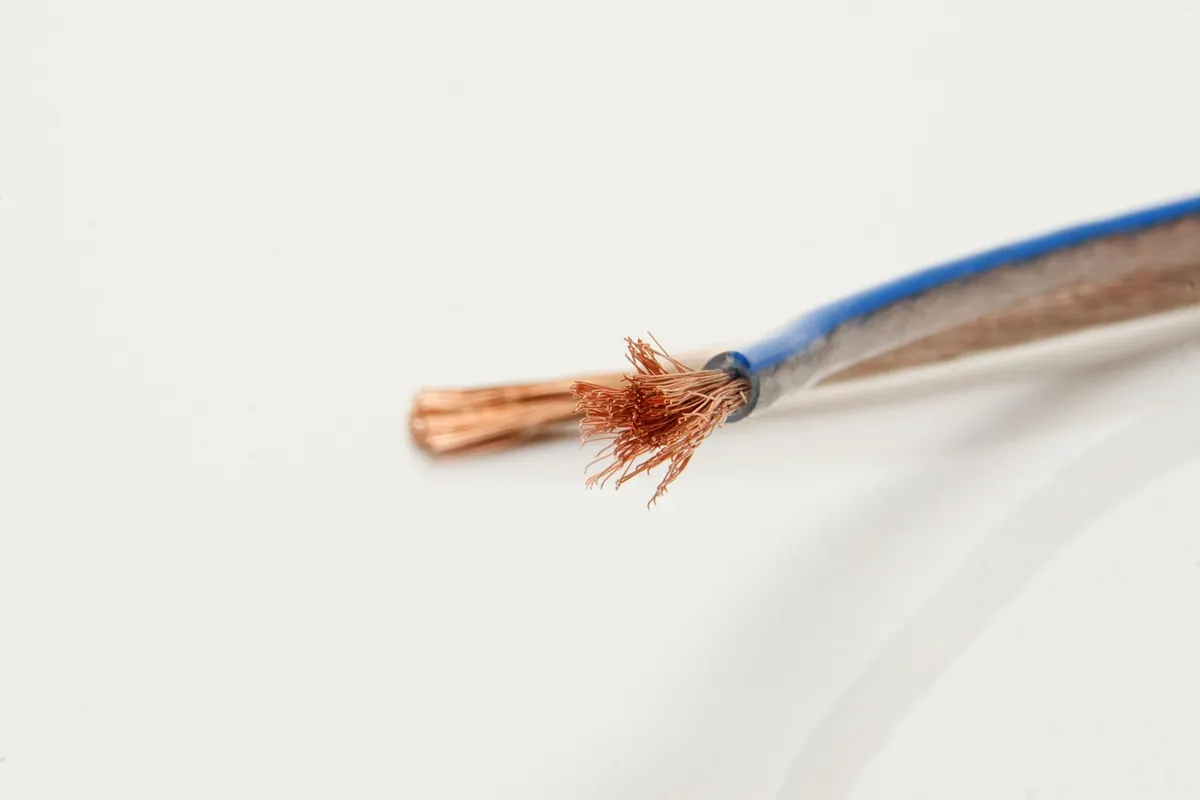
A desk with four cables looks tidy. A desk with fourteen looks like a nest of sleeping snakes, and the moment you need to swap a monitor or unplug a laptop, the whole arrangement tightens into a knot. Fixing it does not require drilling into your desk, your wall, or your landlord's patience. Adhesive clips, sleeves and trays handle almost everything, and they come off cleanly when you move out or rearrange the room.
Start by Removing, Not Buying
Before you order anything, take five minutes to find out what you actually own. Unplug the lot, drag the cables out onto the floor, and sort them into three piles.
- Stays: monitor, computer, speakers, desk lamp, webcam — anything plugged in all day.
- Occasional: phone charger, camera cable, headphone lead. These need to reach your chair, not live on the floor.
- Goes: the spare HDMI cable from a monitor you sold, two identical USB-B cables, the charger for a device you no longer have.
The third pile is the real work. Every cable you remove makes the remaining ones easier to hide. Once you have a shorter list, count how many need to travel from the desk to the wall outlet — that number determines how big a sleeve or tray you need, and it is usually smaller than people expect.
Adhesive Clips: Small, Strong, and Removable
Self-adhesive clips are the backbone of a no-drill setup, and they fail for one reason: people stick them to dust. Clean the surface first with rubbing alcohol on a lint-free cloth and let it dry completely. Skin oils and furniture polish are what kill the bond, not the clip.
Press each clip firmly for twenty to thirty seconds, then leave it alone for an hour before loading it — check the packaging, since some brands want longer. Place clips roughly 10 to 15 cm apart along the run so cables sit parallel instead of crossing over each other. Use one clip per cable, or a wider clip for two or three light cables. A single small clip is not designed to hold a bundle of thick power leads plus a monitor cable, and it will drop off the desk at the worst possible moment.
Where not to stick them
Skip wallpaper, unfinished or oiled wood, loose or flaking paint, and veneer that is already lifting. Heat is the other enemy, so keep clips away from power bricks, monitors' rear vents and radiators. If a surface refuses to hold, you have alternatives: route the cable down the back edge of the desk using binder clips, or wrap hook-and-loop straps around the desk leg — no adhesive needed at all.
Removing them without damage
Warm the adhesive with a hair dryer on its lowest setting for twenty or thirty seconds, slide a length of dental floss behind the base, and peel slowly, pulling the clip almost flat against the surface rather than straight out. Any residue usually comes off with a little rubbing alcohol. Test on a hidden spot first if the finish is delicate.
Sleeves, Ties and Wraps: Many Cables, One Line
A sleeve turns a bundle of five cables into a single tidy tube running down the desk leg, which is the visual trick that makes a workspace look calm. For beginners, split tube is the easiest option: you press the cables into the slit along its length instead of unplugging everything and threading it through.
Use hook-and-loop ties rather than zip ties. Zip ties are permanent, and you will want to change something within a month. When you bundle, leave a service loop — a little extra slack — at both ends so you can pull the monitor forward or slide a laptop out without tugging on the connections. Keep power bricks and their cables loosely separated from signal cables instead of strapping everything into one tight sausage; tight bundles trap heat and are awkward to untangle later.
Trays and Baskets: Getting Gear Off the Floor
The floor behind a desk is where tidy setups go to die. An under-desk tray holds the power strip and a couple of bricks, and most models mount with adhesive pads or a clamp. Check the weight rating before you buy: a six-outlet strip with three adapters plugged in is heavier than it looks, and an overloaded adhesive tray will let go.
If the tray feels risky, a shallow basket or open box on the floor behind the desk works almost as well. It contains the bricks, hides them from view, and lets you reach the strip without crawling. A freestanding cable tower that stands beside the desk is the sturdiest option and needs no fixing at all. Whatever you choose, keep the power strip where you can still reach the switch without dismantling anything.
Routing Rules That Save You Later
- Split power and data. Send power cables down one desk leg and monitor, USB and network cables down the other.
- Anchor as you go. A clip every 15 to 20 cm stops cables from sagging into view.
- Loop at every device. Leave slack so nothing is under tension when you move something.
- Stay out of the chair's path. Cables near wheels get rolled over and crushed. A cable spine or a run along the baseboard keeps them clear.
- Avoid sharp bends and stretched cables, especially right at the connector, where damage happens first.
If you have a standing desk, raise it to full height while you route. Anything that reaches at sitting height will pull tight when the desk goes up. Also keep cables out from under chair mats and rugs — the weight and friction wear through insulation over time.
Your Thirty-Minute Plan
Empty the area, sort the cables, and put the rejects in a box. Clean the surfaces you plan to stick things to. Route power first, then data, then run the sleeve down the leg and clip everything into place. Finish by labelling both ends of the awkward cables with a strip of masking tape and a marker, so the next change takes seconds instead of an hour.
Keep a handful of spare clips, ties and a small sleeve in a drawer. The setup will shift — a new monitor, a different laptop, a second charger — and touching up one cable immediately is far easier than facing the whole nest again in six months.
Photo: Bru-nO / Pixabay