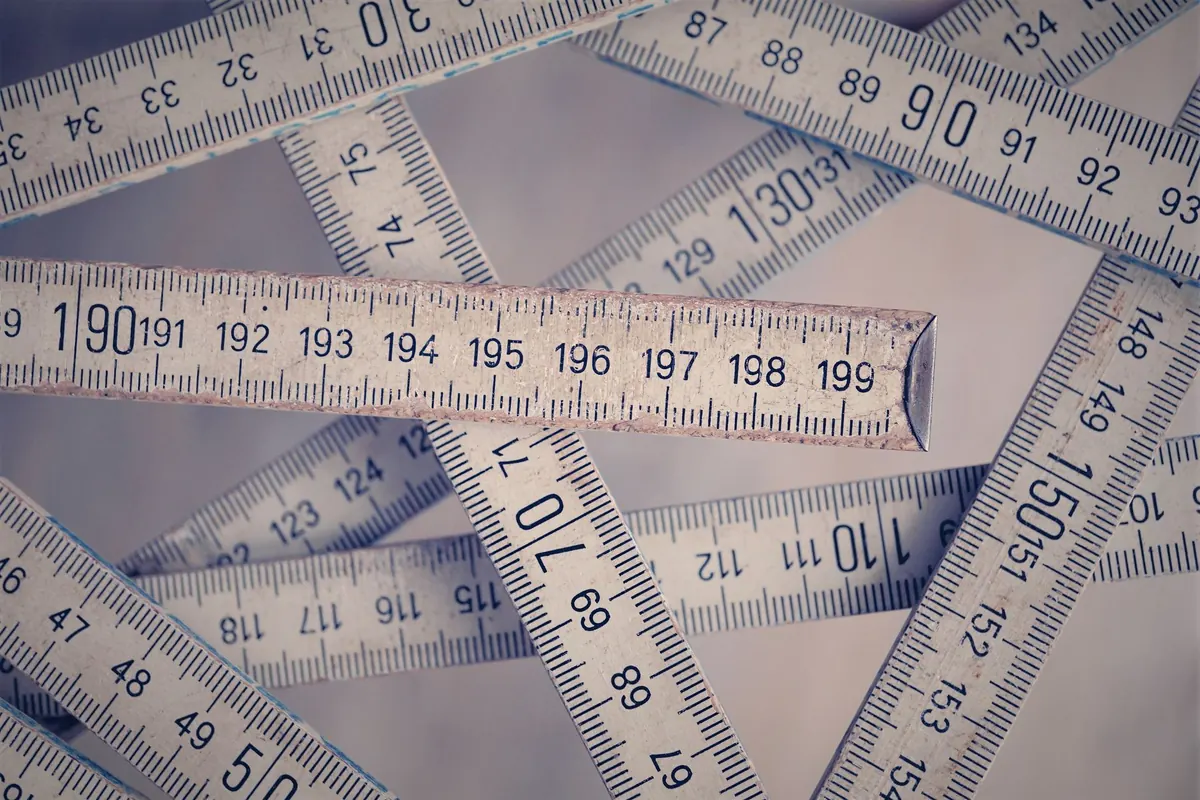
Most desks are manufactured to a single height, and most bodies are not that height. That mismatch is where a lot of quiet, low-grade discomfort comes from: shoulders that creep toward the ears, wrists bent back while typing, a neck that tilts down for hours. The good news is that fixing it rarely requires new furniture. It requires a tape measure, a wall, and about twenty minutes of adjusting in the right order.
Here is how to find the numbers that matter for your body, and what to do with them.
Measure three things before you touch the desk
You need a tape measure and either a mirror, a phone camera, or a patient housemate. Wear the shoes you normally wear at your desk, or no shoes if that is how you work.
- Popliteal height. Sit on a firm chair with your feet flat. Measure from the floor to the crease behind your knee. This sets your chair height.
- Seated elbow height. Still seated, shoulders relaxed, arms hanging down. Bend your elbows to roughly 90 degrees so your forearms are parallel to the floor. Measure from the floor to the underside of your elbow. This is your typing height.
- Standing elbow height. Stand tall, arms relaxed at your sides, elbows bent to about 90 degrees. Measure from the floor to the underside of your elbow. This is your standing typing height.
Write the three numbers somewhere you will find them again. They are the reference points for every other adjustment.
Set the chair first, then the desk
Nearly everyone adjusts the desk first and the chair last. Do it the other way around. The chair determines where your body sits in space, so a desk set before the chair is a guess.
Start with seat height. Your feet should rest flat on the floor, and your thighs should be roughly parallel to it, with knees level with or slightly below your hips. If your chair has to go high enough to keep your wrists comfortable, and your feet end up dangling, add a footrest or a stack of sturdy books rather than lowering the chair and slumping. If the chair bottoms out and your knees sit above your hips, a firm cushion under you can recover an inch or two.
Next, seat depth. You want two to three fingers of space between the back of your knee and the front edge of the seat. If your lower back is not touching the backrest, a small cushion behind your lumbar curve closes the gap.
Now the desk
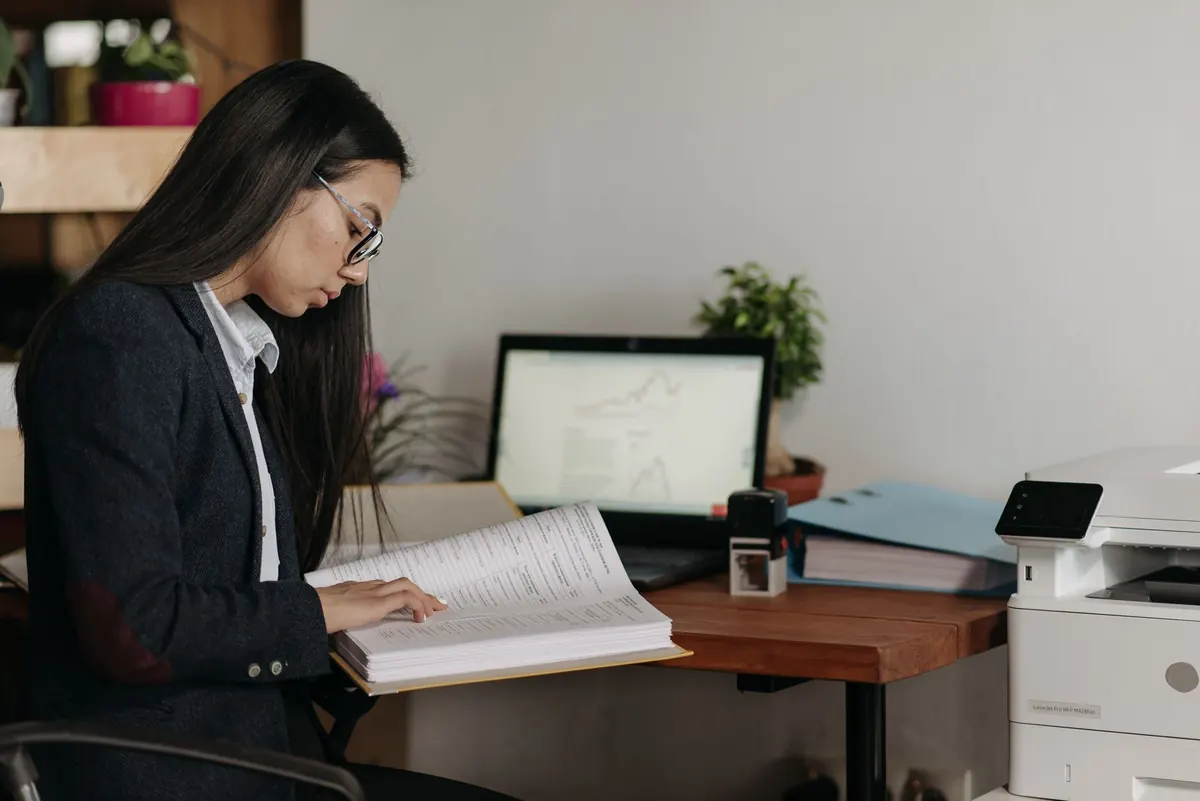
Raise or lower the desk until the surface sits at, or a hair below, your seated elbow height. A hair below matters: your hands rest on keys, and the keyboard adds a centimetre or two of height. Once set, check your shoulders. They should hang, not shrug. If they are creeping up, the desk is too high.
What sitting desk height looks right in practice
- Elbows: bent 90 to 100 degrees, forearms level or sloping very slightly down toward the keyboard.
- Wrists: straight, not bent up or down, with the keyboard angled flat or slightly negative.
- Shoulders: down and back, with the mouse close enough that you are not reaching.
- Back: supported by the backrest, not held up by your own muscles all day.
- Feet: flat and planted, not hooked around the chair legs.
A keyboard tray can rescue a desk that is too high, because it drops the keys to your lap line while leaving the desktop for writing. It is one of the cheapest fixes in a home office.
Standing height is not sitting height plus a guess
Use your standing elbow measurement. Set the desk surface at or just below that point, so your forearms stay level and your wrists stay neutral. Because your hands sit on top of the keyboard, the number is usually higher than people expect, often several centimetres above their seated setting.
Stand with your weight spread evenly and your knees soft, not locked. A cushioned mat helps if you work on a hard floor.
Alternating between sitting and standing is generally more comfortable than picking one and staying there for eight hours. Rather than chasing a perfect ratio, change position before you feel stiff, and let the day's tasks guide you: take calls standing, do focused typing seated.
Monitor height and distance
The top of the screen should sit at or slightly below eye level, so your gaze drops a little as you read. If you wear progressive or bifocal lenses, you may want the screen lower still, so you are looking through the reading portion without tilting your head back.
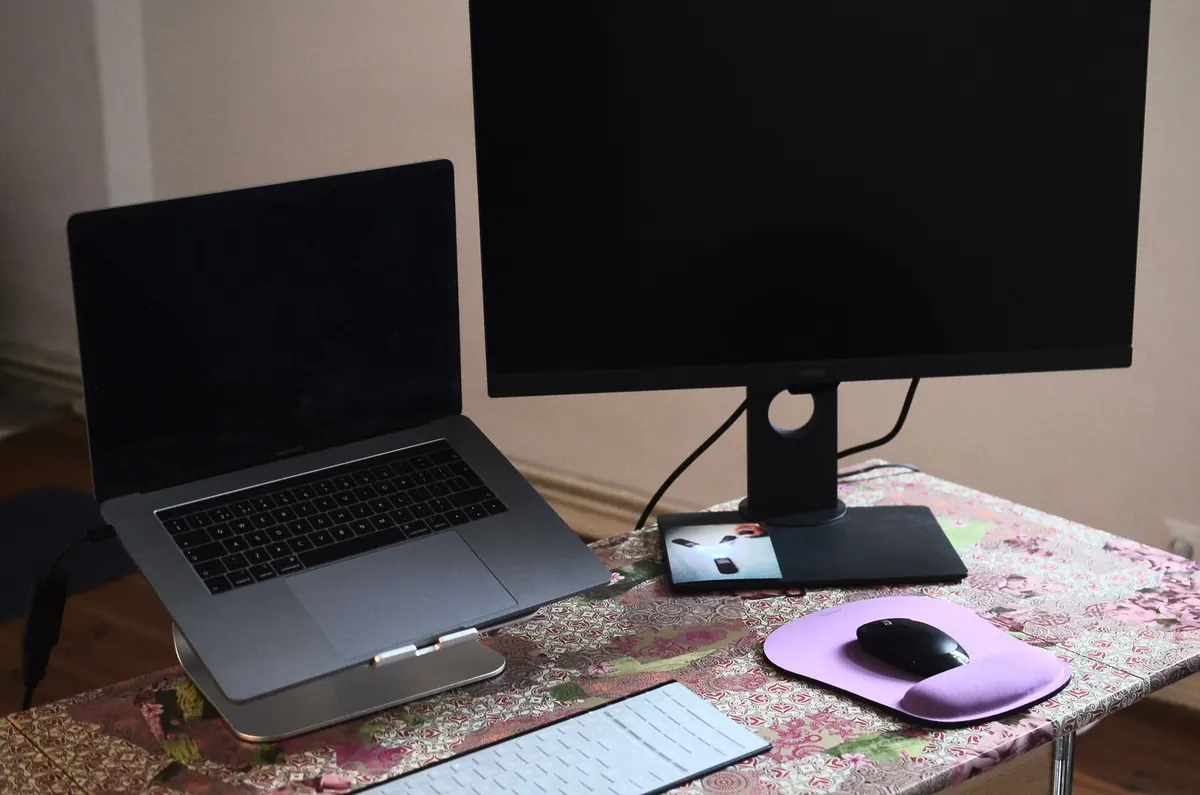
For distance, extend an arm: your knuckles should land near the screen. That is a useful starting rule for most people. Tilt the screen back slightly, so the top leans away from you, which reduces glare and keeps your neck neutral. A monitor stand, a stack of books, or a wall mount all work; what matters is that the base is stable and the adjustment holds.
On a laptop, this is where most home offices break down. You cannot get the screen up to eye level and keep the keyboard at elbow height on the same device. Use a riser or a stand for the laptop and add an external keyboard and mouse. With two monitors, put the one you use most directly in front of you and angle the second inward.
When the furniture will not cooperate
Adjustable desks and chairs are ideal, but plenty of people are working at a fixed table with a dining chair. Workarounds that actually help:
- A footrest, or a box under the desk, to bring the floor up to your feet.
- A cushion behind your lower back to fill out an unsupportive chair.
- A keyboard tray or a lap desk to lower the typing surface.
- A stack of books under the monitor to raise the screen.
- Removing casters to drop a desk a couple of centimetres, if the legs allow it.
Whatever you stack or prop, make sure it cannot shift when you lean on it. A wobbly setup creates its own tension.
A five-minute reset to keep it honest
Your setup drifts. Chairs get borrowed, desks get raised for a standing stint and never returned, and bodies change with training, injury, and time. Once a month, or whenever you notice a familiar ache in your neck, shoulders, or wrists, run a quick check: feet flat, knees level, back supported, elbows at 90 degrees, wrists straight, screen top near eye level, screen an arm's length away.
Fix the first thing that is wrong, then work down the list. Small corrections add up more than one dramatic overhaul. And if discomfort persists despite a sensible setup, or you get numbness, tingling, or pain that wakes you, treat that as a signal to see a doctor or physiotherapist rather than something to solve with more cushions.
Photo: Michaela St / Pexels